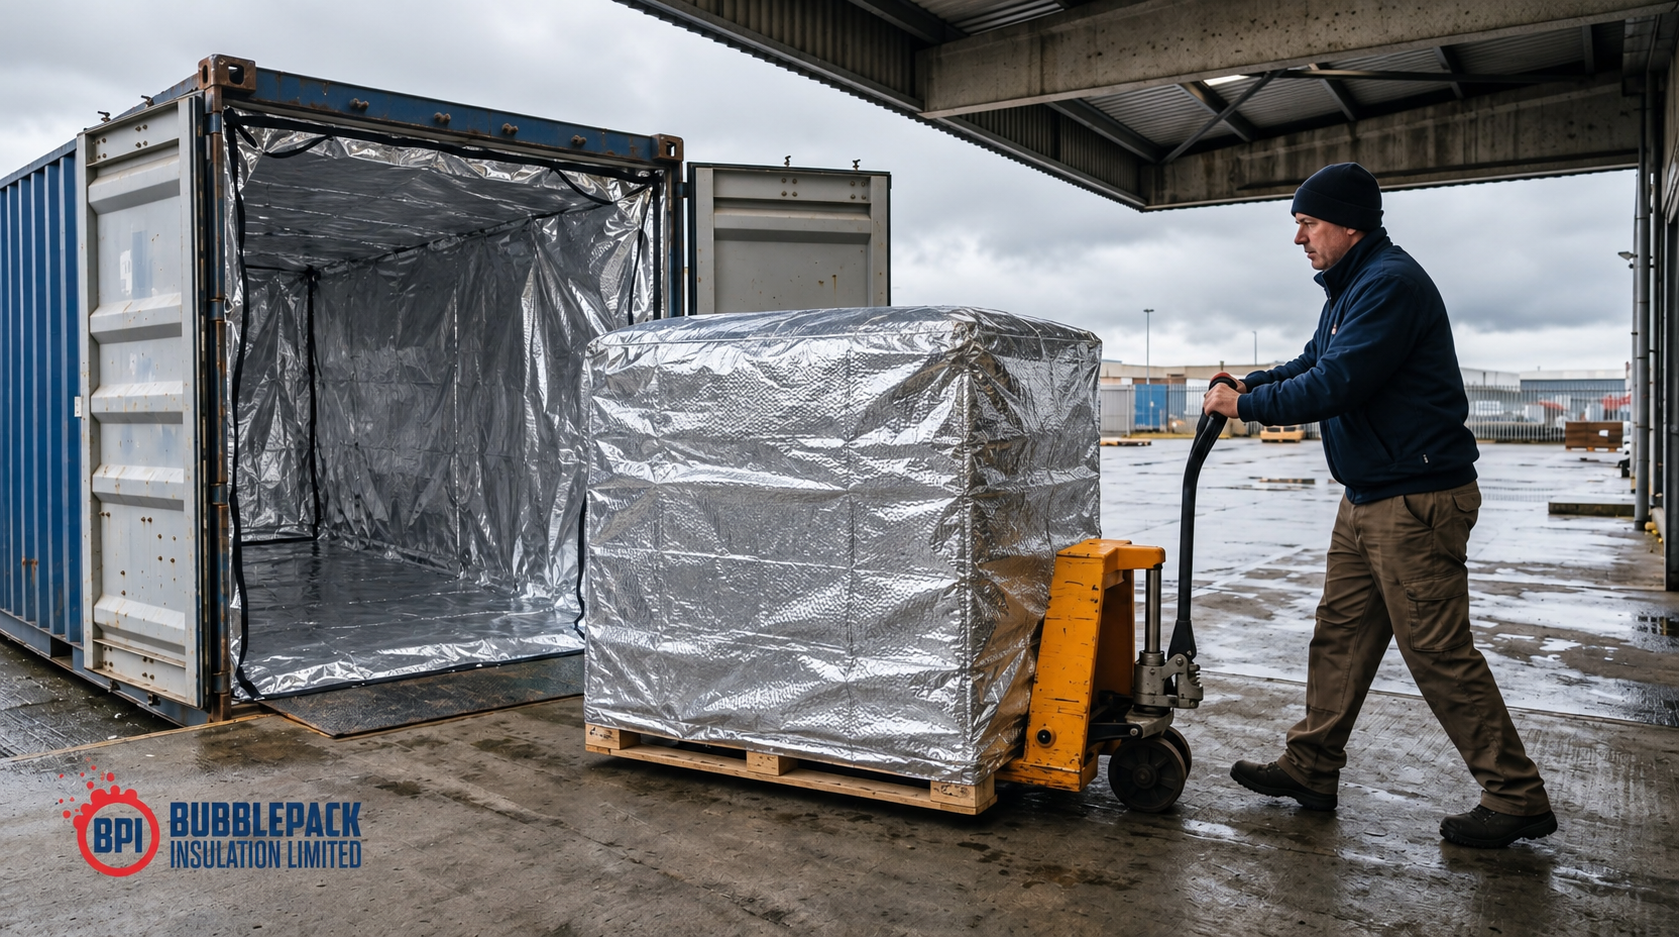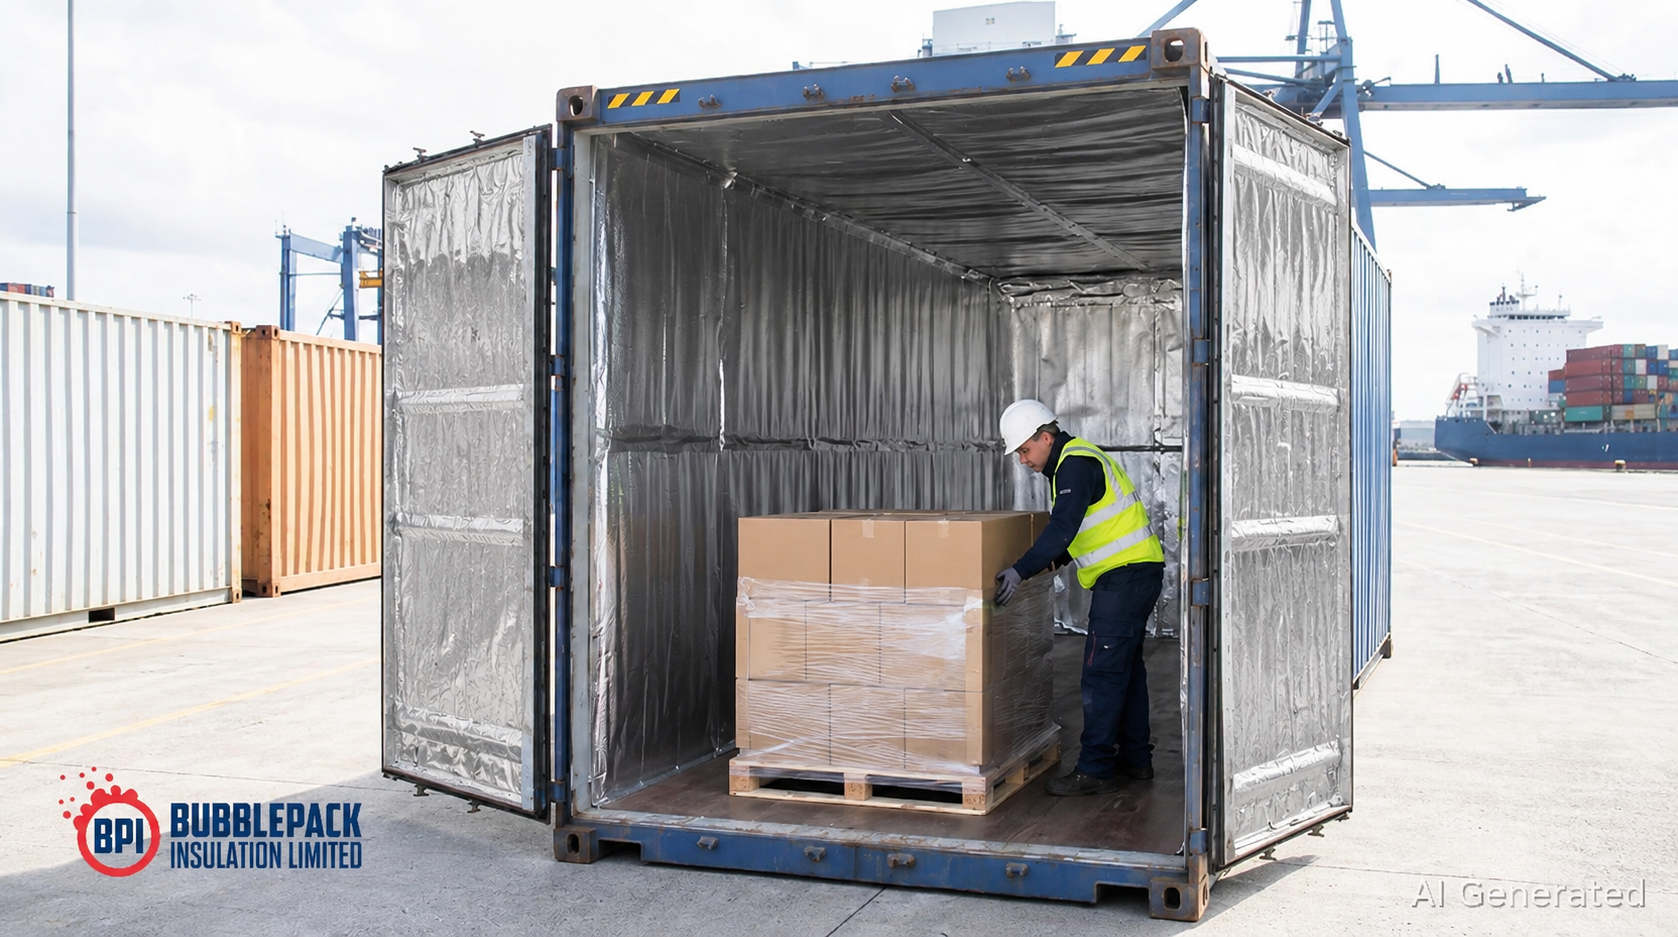

BubblePack's prefabricated BPI Integrated Liner can be installed by one person following the supplied installation instructions. Shippers can complete the fitting themselves or arrange installation through a local partner. Watch BubblePack's container liner installation video on YouTube to see the process.
Plan the installation before the container is ready for loading. Confirm who is responsible for fitting the liner and coordinate the work with container preparation and cargo loading. This helps the team follow the product’s installation instructions and inspect the container before loading.
You’ll learn how to prepare the empty container, fit the liner with the right support, and inspect it before cargo goes in. The checks focus on the container’s interior, the liner’s position and security, and the final readiness of the loading space.
Key Takeaways
• The BPI Integrated Liner can be installed by one person. Follow BubblePack's fitting instructions and coordinate installation before loading.
• Inspect the container interior and lashing points so damage or residue does not compromise the fitting.
• Check the liner's position and visible condition against the installation instructions before cargo is loaded.
• Understand how preparation and liner positioning can affect performance, then choose a fitting approach suited to your export operation.
Checking the liner before loading
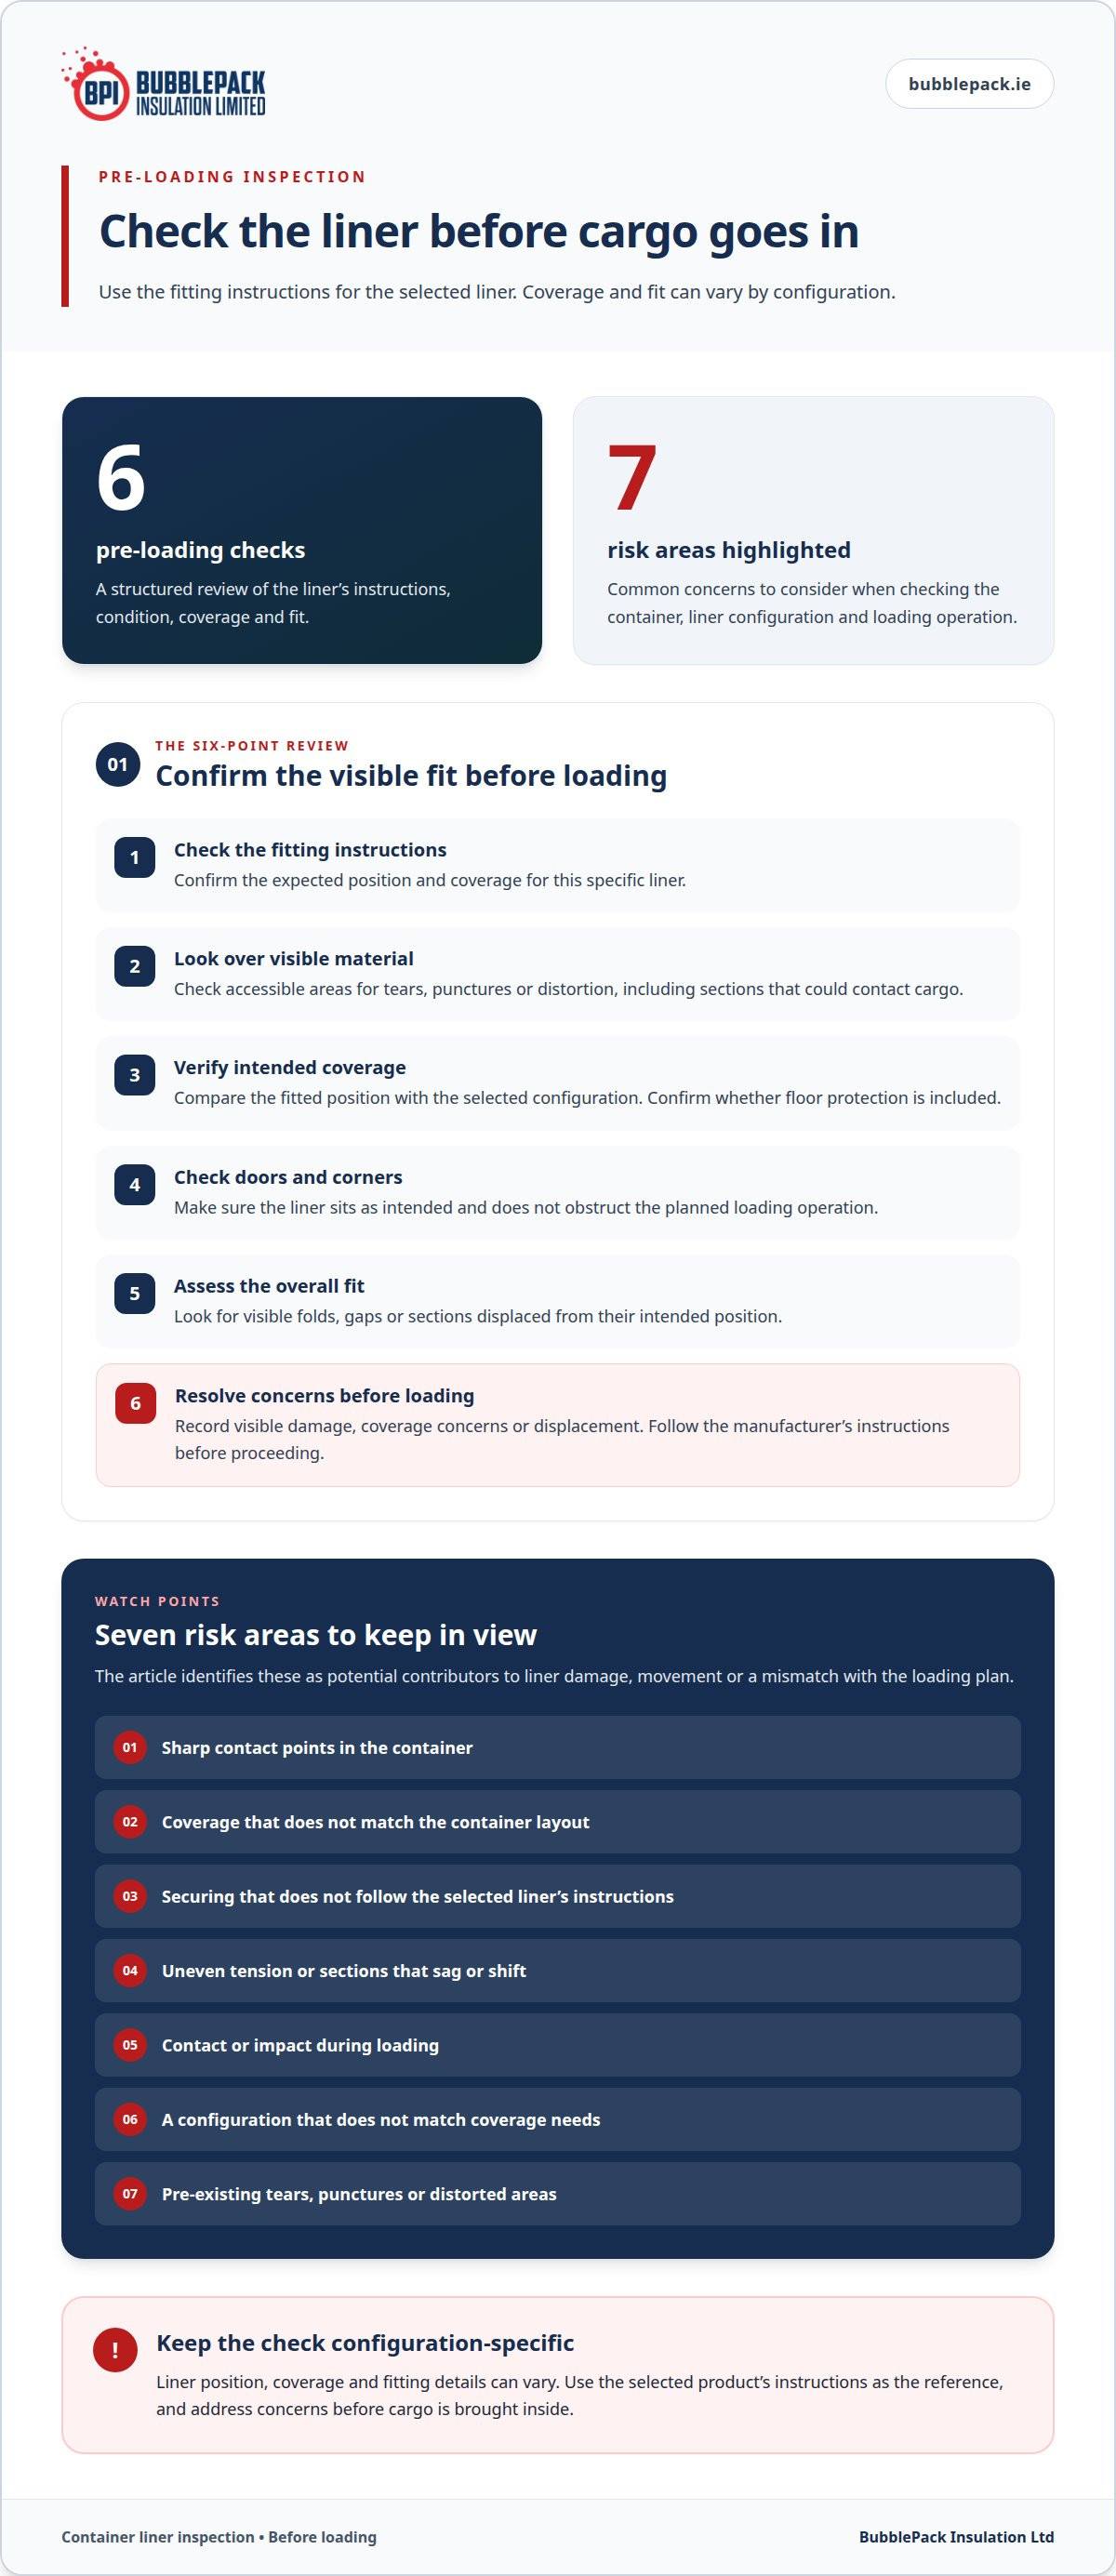
Inspect the fitted liner before cargo enters the container. Use the fitting instructions for the selected liner as your reference, since checks vary by configuration. Tell the loading team about any issue that needs attention before goods are brought inside.
Review the fitting instructions.
Confirm the expected position and coverage for this specific liner. Check the visible installation against those instructions, rather than assuming that another liner’s securing details or components apply.
Look over accessible surfaces.
Examine the visible liner material for tears, punctures or distorted areas. Pay particular attention to sections that could contact cargo during loading. If you find damage, pause loading and follow the product instructions for dealing with it.
Check the intended coverage.
Compare the liner’s position with the coverage specified for the selected configuration. Confirm whether the arrangement includes floor protection, rather than assuming that every liner covers the floor as well as the walls and roof.
Inspect the doors and corners.
Check that the liner sits in the intended position around these areas and does not obstruct the planned loading operation. Use the product instructions to assess the fit; do not add tape, fasteners or other materials unless directed.
Assess the overall fit.
Look for visible folds, gaps or sections that have shifted from their intended position. Compare any concern with the fitting guidance, since a feature that is correct for one configuration may not apply to another.
Resolve concerns before loading.
Record any visible damage, coverage concern or displacement, then follow the manufacturer’s instructions before proceeding. Keep the loading team updated, so cargo handling does not begin while the liner’s condition or fit remains under review.
Before installation, check that the empty container is clean, dry and free from sharp protrusions or damage that could affect the liner. Complete fitting and final checks in line with BubblePack's installation instructions.
Common causes of liner failure
Sharp contact points.
A protrusion on the container floor can puncture or tear liner material. Contact during fitting or loading can make an existing tear worse. Inspect the floor and remove or address hazards before fitting and loading.
Insufficient rear coverage.
A liner that is incorrectly positioned may leave areas exposed or interfere with loading. Check the liner’s position against the container layout before cargo enters. A visible gap may indicate that the liner is not sitting as intended.
Inadequate securing.
If the liner is not held in its specified position, loading activity can displace or damage it. Follow the manufacturer’s arrangement for the particular liner. Avoid improvising attachment points, as an unsuitable securing layout can transfer force to the wrong areas.
Uneven tension.
Loose sections can sag or shift, whilst excessive tension may strain the material or its attachment areas. Use the fitting instructions to establish the intended tension. Check that the liner sits consistently rather than relying on one tight point to hold the whole assembly.
Loading contact or impact.
Forklift handling and cargo edges can press against exposed liner sections. Keep loading equipment and goods clear of vulnerable areas where the loading plan allows. Position cargo carefully, especially near the rear and sides, where contact can catch or displace the liner.
Wrong configuration for coverage needs.
Container coverage depends on the liner configuration selected, including whether floor protection is included. If the loading plan assumes floor coverage but the chosen configuration does not provide it, the cargo and liner may be exposed to contact the plan was meant to avoid.
Starting with a compromised liner.
A tear, puncture or distorted section can worsen once loading begins. Inspect the material and its fit before loading, then stop if damage appears. Record the location and address the issue before cargo pressure makes the defect harder to assess.
Check the container floor for sharp protrusions before installation. Treat any protrusion as a potential contact point and address it before loading begins.
Can One Person Install the BPI Integrated Liner?
Plan staffing around the selected liner.
The BPI Integrated Liner is designed for straightforward installation by one person. Shippers can fit it themselves, or arrange a local installation partner. See BubblePack's installation video for a demonstration of the fitting process.
Distinguish the fitting approach.
A prefabricated liner is supplied ready for installation, while a custom on-site approach is designed around its own process. Compare the supplied fitting instructions and intended container coverage, not assumptions about materials or installation methods.
Check requirements before fitting.
Use the selected liner’s instructions to identify any required components. Don’t add generic tools, tapes or fasteners. The equipment needed depends on the liner design and its supplied guidance.
Follow the product’s placement guidance.
Use the instructions to position the liner around doors, corners and seams. There is no universal attachment or sealing method for every liner, so don’t improvise with materials the instructions don’t specify.
Allow time for the operation.
Fitting time depends on container size and the selected system. Build the fitting task into the depot and loading schedule, leaving time for the team to complete the work and inspect the liner before cargo is introduced.
Coordinate site and cargo requirements.
For Irish export operations, align fitting with depot access, collection timing and the loading plan. Pharmaceutical shipments also require documented product temperature requirements and appropriate shipper qualification.
Apply workplace safety procedures.
Brief everyone involved on their role, keep access around the container clear and follow the site’s safety procedures during fitting. Check the liner instructions for any product-specific handling requirements before work begins.
Inspecting and preparing the container
Before installing a prefabricated container liner, identify the container type and confirm that it matches the liner’s specified fit. Prepare the empty container, then follow the installation instructions supplied for that liner.
Confirm the container type.
Record whether the unit is 20ft, 40ft HC or 45ft. Check the liner is intended for that container type. Length alone doesn’t establish a suitable fit, because height and internal layout also matter.
Measure the usable interior.
Measure internal length, width and height between the surfaces that define usable space. Check the door opening as well. Compare these measurements with the liner specifications, rather than relying solely on external container dimensions.
Note internal restrictions.
Look for structural features or fittings that reduce clear space. Record where they sit and include those details when assessing compatibility. This helps identify a potential fit issue before the liner is taken into the container.
Clear the work area.
Remove cargo, loose materials and equipment from the container. Keep the doorway and surrounding area unobstructed, so the liner can be handled without catching on stored goods or interfering with other work.
Review the product instructions.
Before installing a prefabricated container liner, check its supplied fitting sequence and component requirements. Keep the correct components together, and don’t substitute tools or materials. Liner designs differ, so generic steps may not match the selected product.
Fit according to the specified arrangement.
Follow the instructions for positioning and securing the liner, including its treatment around doors, corners and seams. Don’t cut, tape or alter it unless the product instructions direct this, as changes can affect the intended fit.
Document preparation.
Record the container type, internal measurements and any fitting concerns alongside the loading paperwork. This gives the loading team a clear reference for the container and configuration prepared for the shipment.
BubblePack Insulation: BPI ROLL LINER
For Irish exporters seeking professionally installed thermal protection, BPI Roll Liner is supplied and fitted by BubblePack Insulation Ltd across Ireland. The prefabricated BPI Integrated Liner is another option, designed for installation by shippers or local partners.
Its three-layer reflective bubble-foil construction is suited to export operations where installation at an empty-container depot fits the collection plan. Allow 20-45 minutes for fitting, and arrange the container type, depot location, collection date, cargo requirements and fitting availability in advance. Coverage depends on the liner configuration selected, including whether floor protection is included.
The BPI Integrated Liner is a prefabricated thermal liner available worldwide for installation by shippers or local partners. Choose the fitting arrangement that suits your operation, cargo requirements and container. Contact BubblePack Insulation Ltd to discuss a liner for your shipment.
Plan the liner around the shipment
Plan to install a prefabricated container liner as part of the export process, not at the last minute before loading. Match the liner configuration and coverage to the cargo requirements, loading arrangement and planned route. For pharmaceutical shipments, follow the product-specific temperature requirements and shipper qualification process.
Bring procurement, warehouse and logistics teams into the planning discussion. Agree how the selected liner fits the loading plan, who is responsible for fitting it and when the container must be ready. This gives everyone a shared basis for coordinating container preparation and cargo handling. A thermal liner provides passive insulation; it doesn’t actively control temperature. Where a shipment requires active temperature management, assess the transport solution against that requirement.
BubblePack Insulation can help you consider the appropriate liner option for your export operation. Discuss your container liner requirements with BubblePack Insulation and take the next step towards a clear, well-coordinated loading plan.
Frequently Asked Questions
Can a prefabricated liner be installed without professional help?
Yes. One person can install the BPI Integrated Liner using BubblePack's instructions. Our installation video shows how it is fitted. Installation may also be arranged through local installation partners. Assign a responsible person to coordinate fitting with depot access and cargo loading, so the container is available for inspection before loading begins.
What common installation problems can cause leaks, wrinkles, or liner damage?
Misalignment, uneven positioning and handling against sharp container features can create folds or damage. If “leaks” means gaps in thermal coverage, check that the liner sits as intended around the doors, corners and seams, following its instructions. A thermal liner provides passive insulation, not active temperature control. Inspect any suspect area before loading, and address visible damage rather than covering it with an unapproved material.